5.2 Context and Production Builds
# Context and Providers Review
Just like we did with React, in React Native we can create data stores that use State or AsyncStorage or some other asynchronous storage methods, and wrap them inside of a Context object. The
Context objects are loaded at a global level, usually in the App.js file, through a Provider.
The child components inside your app can access the data in the Context object through a hook that is available by importing the Context object.
Here is an example of a context object that uses AsyncStorage.
// /context/MyDataContext.js
//import the createContext method to create the Context Object
import { createContext, useState, useContext, useEffect } from 'react';
//import modules that are needed to access, update, or delete the data
import AsyncStorage from '@react-native-async-storage/async-storage';

const MyDataContext = createContext(); //create the context object

function MyDataProvider(props) {
  //this will get exported
  const [data, setData] = useState([]);

  useEffect(() => {
    //load the initial data into the global state variable `data`
    //This version uses AsyncStorage... but you could be talking to
    // the File System, Image Picker, or remote API
    AsyncStorage.getItem('an_asyncstorage_key').then((list) => {
      list = list === null ? [] : JSON.parse(list);
      setData(list);
    });
  }, []);

  async function updateStorageData(list) {
    //this update method gets exported to the Provider
    setData(list);
    await AsyncStorage.setItem('an_asyncstorage_key', JSON.stringify(list));
  }

  return <MyDataProvider.Provider value={[data, updateStorageData]} {...props} />;
}

function useMyData() {
  //create a custom hook that can be called from components
  const context = useContext(MyDataContext);
  //we use the built-in useContext hook to access our own Context object.
  if (!context) throw new Error('Not inside the Provider');
  return context; // [data, updateStorageData]
  //we are returning our own state variable and function from UserContext Provider
}

//export the hook and the provider
export { useMyData, MyDataProvider };
2
3
4
5
6
7
8
9
10
11
12
13
14
15
16
17
18
19
20
21
22
23
24
25
26
27
28
29
30
31
32
33
34
35
36
37
38
39
40
41
42
The return from the MyDataProvider function a Provider object that contains a value attribute. You can put anything that you want inside this attribute. However, it will typically contain a
reference to a state variable and a method that can be called to update the state variable. If you want, you can do things like create methods for adding a single item, updating a specific item, and
deleting a single item too.
The Provider gets imported into your App.js so you can wrap everything else in it.
// /App.js

import {MyDataProvider} from './context/MyDataContext.js';
//import other things you need in App.js

export default function App(){

  return (
    <MyDataProvider>
      <SafeAreaProvider>
        {/* more components that we need */}
      </View>
      </SafeAreaProvider>
    </MyDataProvider>
  )
}
2
3
4
5
6
7
8
9
10
11
12
13
14
15
16
Then on any screen where you want to use the data from the Context object, you import the hook that you exported from MyDataContext.js.
// /screens/HomeScreen.js
import { useMyData } from '../context/MyDataContext.js';
import { useState, useEffect } from 'react';
//import other things you need for the page.

export default function HomeScreen(props) {
  const [data, setData] = useMyData([]);

  useEffect(() => {
    //if we need to load something into data
    //we do it here.
  }, []);

  return (
    <View>
      <Text>{data.length}</Text>
    </View>
  );
}
2
3
4
5
6
7
8
9
10
11
12
13
14
15
16
17
18
19
If you want to, you can create multiple Context objects, each with their own Provider. All of the Providers can be nested inside each other on App.js.
# Custom Fonts with Expo
When you want to use fonts beyond the system ones in your React Native Apps then you should download the otf or ttf version of your desired font file.
Create a fonts folder inside your /assets folder. You can technically put the fonts whereever you want but the convention is to put the files in the /assets/fonts/ folder.
Then install the expo-fonts package.
npx expo install expo-font
Then you can import the useFonts hook on your page.
import { useCallback } from 'react';
import { Text, View, StyleSheet } from 'react-native';
import { useFonts } from 'expo-font';
import * as SplashScreen from 'expo-splash-screen';

SplashScreen.preventAutoHideAsync();
// stops the SplashScreen from disappearing before the font is loaded

function App() {
  //like a state variable. fontLoaded will be true when the font is loaded
  const [fontLoaded, loadError] = useFonts({
    'My-Font': require('./assets/fonts/MyFont.ttf'),
  });
  //The property name above will be used as the value for fontFamily

  const FontReadyForLayout = useCallback(async () => {
    if (fontLoaded) {
      await SplashScreen.hideAsync();
    }
    //when fontLoaded changes the callback function runs
    // and the SplashScreen will be hidden
  }, [fontLoaded]);

  if (!fontsLoaded) {
    //don't return the component if the font is not loaded yet
    return null;
  }

  return (
    <View style={styles.container}>
      <Text style={{ fontFamily: 'My-Font' }}>Some text using the loaded font</Text>
    </View>
  );
}
2
3
4
5
6
7
8
9
10
11
12
13
14
15
16
17
18
19
20
21
22
23
24
25
26
27
28
29
30
31
32
33
34
If you want to dynamically load a font from a remote source and update the page afterwards, you can use the loadAsync() method.
# Splashscreens
When building a mobile app, one feature that we typically have that websites don't, is a splashscreen.
Splashscreens are a feature that is displayed while the rest of the app is loading. If you need to load a bunch of data, or images, or fonts, etc. before the user interacts with your application, then this is a perfect reason to have a Splashscreen and also control when it is hidden.
Expo SplashScreen API reference (opens new window)
Guide to creating Splashscreen Images (opens new window)
In React Native, the default Splashscreen is a plain white background. To edit the image being used we need to edit the App.json config file. This is the part of the file that you need to edit. The
default location of the splashscreen image is inside the /assets/ folder. You can move it somewhere else but this is the default location.
{
  "expo": {
    "splash": {
      "image": "./assets/splash.png",
      "resizeMode": "contain",
      "backgroundColor": "#ffffff"
    }
  }
}
2
3
4
5
6
7
8
9
If you want, you can create different SplashScreen images for android and ios. Just add android and/or ios as properties inside of splash in the App.json file.
{
  "expo": {
    "splash": {
      "android": {
        "image": "./assets/splash-green.png",
        "resizeMode": "contain",
        "backgroundColor": "#00ff33"
      },
      "ios": {
        "image": "./assets/splash-purple.png",
        "resizeMode": "contain",
        "backgroundColor": "#aa0066"
      }
    }
  }
}
2
3
4
5
6
7
8
9
10
11
12
13
14
15
16
Here is a Figma file that you can use to create your splash.png file (opens new window). It also helps you to create the launcher icon file.
There is also a website that you can use to generate starter icons https://buildicon.netlify.app/ (opens new window).
The API that you need to install to be able to control when the SplashScreen is showing:
npx expo install expo-splash-screen
Then in your App.js file, outside your App function add this to stop the SplashScreen from automatically being hidden:
import * as SplashScreen from 'expo-splash-screen';

SplashScreen.preventAutoHideAsync();

export default function App() {
  //
}
2
3
4
5
6
7
Inside your App function you can use a useEffect to wait for the load of whatever your app needs.
export default function App() {
  const [appIsReady, setAppIsReady] = useState(false);

  useEffect(() => {
    (async () => {
      try {
        // Pre-load fonts, make any API calls you need to do here
        await Font.loadAsync(Entypo.font);
      } catch (e) {
        console.warn(e);
      } finally {
        // Tell the application to render
        setAppIsReady(true);
      }
    })();
  }, []);

  const onLayoutRootView = useCallback(async () => {
    if (appIsReady) {
      //if the font is loaded  the appIsReady variable is set to true
      //which will render the <View></View>
      //when it finishes creating its layout it will call this callback function
      //which will hide the SplashScreen
      await SplashScreen.hideAsync();
    }
  }, [appIsReady]);

  if (!appIsReady) {
    // doing this stops the return below with the <View>...
    return null;
  }

  return (
    <View onLayout={onLayoutRootView}>
      <Text>The SplashScreen has disappeared if you see this</Text>
    </View>
  );
}
2
3
4
5
6
7
8
9
10
11
12
13
14
15
16
17
18
19
20
21
22
23
24
25
26
27
28
29
30
31
32
33
34
35
36
37
38
# Production Builds
Expo makes it very easy for developers to build and test their apps. A simple yarn start on the command line begins the Metro build and gives you a QR code to scan with any phone that has the
Expo Go client app installed.
Hot reloading is included with Expo which means you can edit and test continually.
But what about your client?
What about testing when your dev server is not running?
What about testing when you are away from your wi-fi network?
To answer these concerns we have a few options.
# Expo publish (Older Versions of Expo)
With the Expo CLI we can create a hosted version of our React Native App. This will still be using the Expo app as the delivery mechanism. Your client will still need to install the Expo app on their phone. However, it will create a URL that you can share with your client or other developers for testing. The URL, once opened in a browser will have the QR code that gets used by the Expo Go app to load the currently published version of your app.
You must first create an account with Expo (opens new window). Then you can use the CLI to create this production version.
You can find out if you are logged in from the CLI by using the npx expo whoami command. If not logged in then you can use the npx expo login command.
npx expo whoami
npx expo login
npx expo publish
2
3
Here is the Expo CLI reference (opens new window)
On the Expo website you will have a page where you can see all the different builds you create. Eg: https://expo.dev/accounts/[your username]/builds
Clicking on one of your listed builds will take you to the details page, where you can download the .aab Android Application Bundle file or .ipa iOS App Store Package file.
iOS
Warning It is important to note that you must have owner rights on your iOS dev account to be able to create your signing certificate and actually create the downloadable .ipa file for iOS.
Now, it is important to note that with the latest versions of Expo that you will get this error message if you run the publish command.
expo publish is not supported in the local CLI, please use eas update instead
Before we get into EAS we should also look at using the Metro Dev Server. Again, this will work with the older versions of Expo (before expo was installed locally in your project).
# From the Metro Dev Server
If you have your Metro bundler running through npx expo start then you can visit your Metro webpage http://localhost:19002 and click on the Publish or republish project link in the left hand
menu.
This will let you do the same thing as with the npx expo publish command.
It will open up the Expo.dev service page for your app. You will need to be logged in to the Expo website to do the publishing. This page will have a QR code that can be scanned with a phone, which will need the Expo Go app installed. That phone will be able to run the published version of the app at any time. You won't have to have your Metro Dev server running on your computer.
For iOS, there is a security restriction. To load the published app via Expo Go, the user must be logged in to the Expo account that was used to build the app. If you are logged in to the Expo.dev website then you will have a page that you can access from anywhere to demo your published app.
If your intention is to share the app with a client, this leaves us with the following options:
- Create an account for your client and log in to that account on your computer before you publish the app to Expo.dev.
- Give your client your Expo credentials so that they can log in to the website and then open the app on their phone.
# Expo Build (old version)
If you want to create the binaries locally from your Expo project you can also run the expo build command.
npx expo build:android
npx expo build:ios
2
It has the same limitations for iOS. You need to have the owner rights on the iOS account.
# Expo.dev New Create Project
A new way to create a project that will be available through the Expo.dev website is to:
- Create an account on https://expo.dev (opens new window)
- Log into that account.
- Navigate to the projects page
https://expo.dev/accounts/<YourUserName>/projects - Click the new project button.
When you click the new project button you will be shown the terminal commands to run for a:
New Expo Project
npm install --global eas-cli
npx create-expo-app@latest <name-of-your-project>
cd <name-of-your-project>
eas init --id <use the id that they provide>
2
3
4
Convert Existing Project into an EAS Project
Navigate to your local folder that contains your existing React Native Expo project that you created with npx create-expo-app@latest <project name>.
npm install --global eas-cli
eas init --id <use the id that they provide>
2
If you used a different project name (project slug) on the expo website when creating the project then you will be prompted to overwrite the local name inside your app.json file to match the one on
the expo website. Go ahead and do the overwrite.
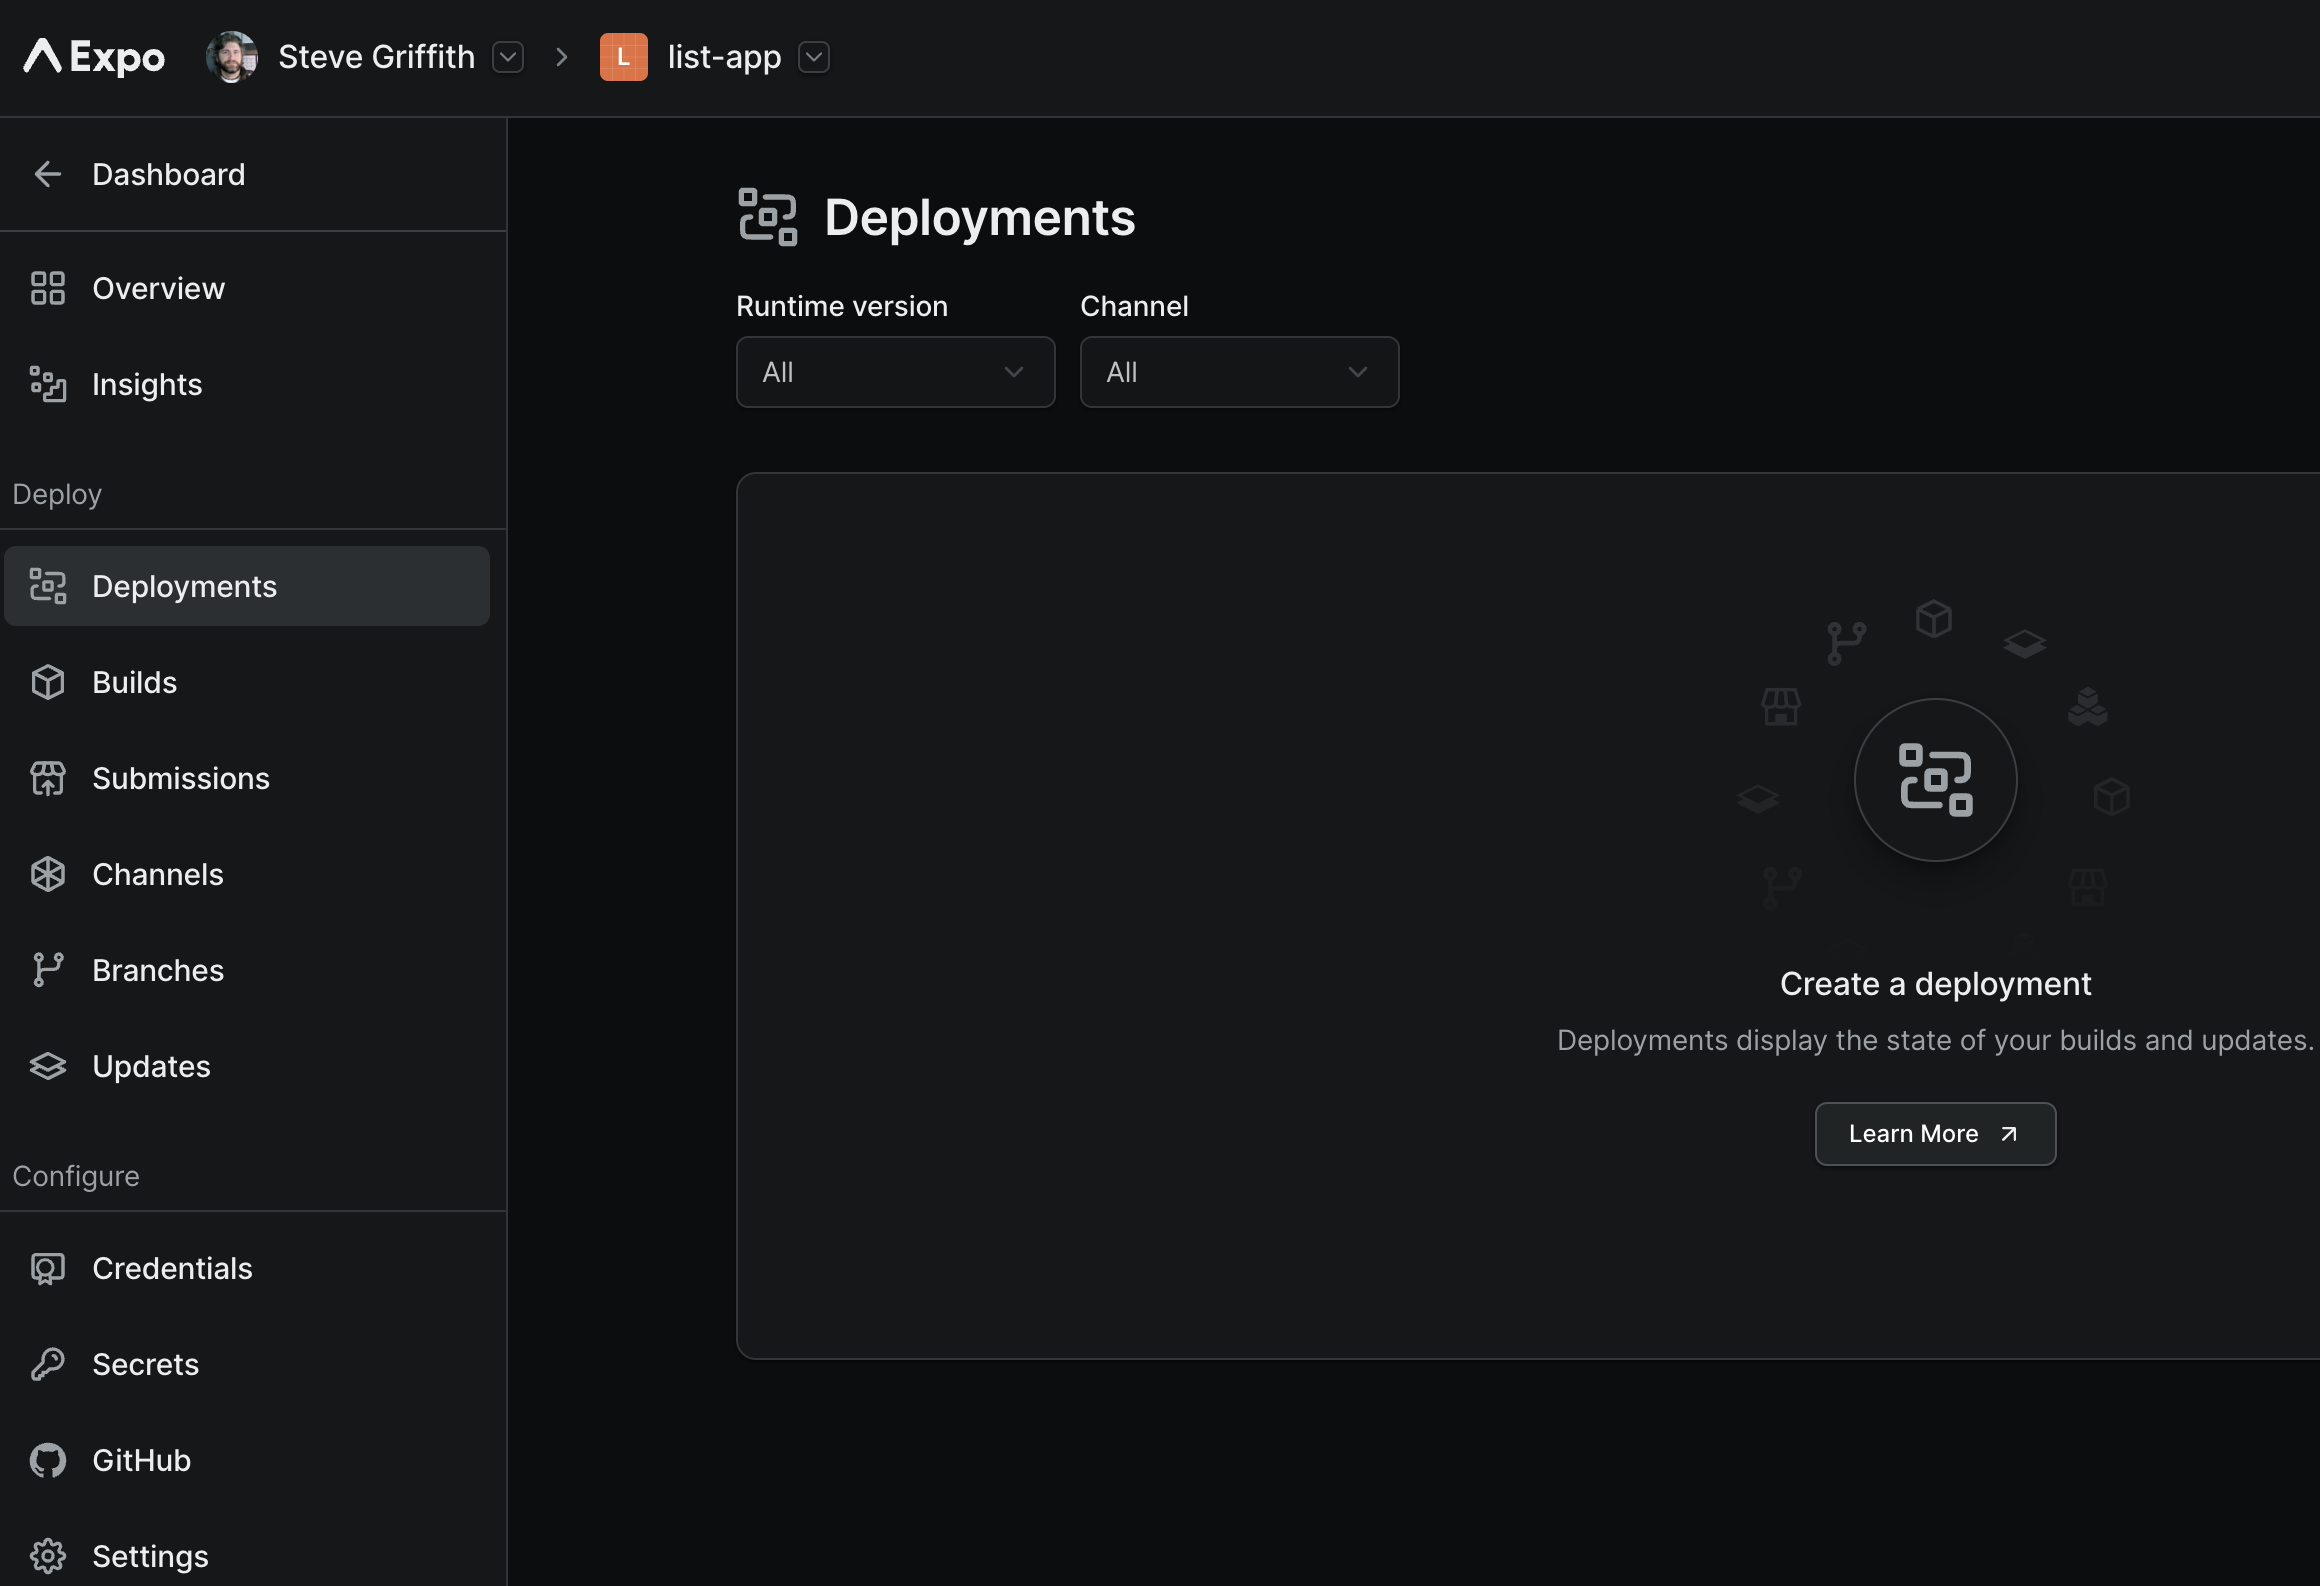
If you select a project from your list of projects on the expo dev website then you will see a details screen that looks like this:
# EAS CLI
A new solution for publishing and creating your mobile binaries has been created with a tool called Expo Application Services EAS.
Official Reference for EAS and the update command (opens new window)
EXPO and EAS is designed to run in a manner similar to Cordova and PhoneGap. One is the free public tool. The other is aimed at enterprise clients who need more support and more robust tools. Luckily EAS comes with a free level account. Great for students and independent developers.
It uses the node package eas-cli. You start by installing it globally on your computer using npm.
npm install -g eas-cli
Here is an article (opens new window) about how EAS works and what it does.
It also has the login and whoami commands. It uses the same login account as expo. If you previously logged in with your Expo account then the eas whoami command will give you the same username.
eas whoami
eas login
2
With EAS you will be creating the binaries for your project without the same limitations that expo build (opens new window) had.
It still has the restriction about iOS and needed the distribution p12 certificate, which only the iOS dev account owner can create.
MORE ABOUT EAS next week.
# Expo Eject
DANGER
This command cannot be undone. When the command runs it will put your project back to the same state it would be right after running npx expo init
The npx expo publish command creates that link for the demo version of your app. Both the expo and eas build commands will create binaries (only if you have the distribution certificate for iOS)
(depending on which version of expo you have installed).
One of the things that makes Expo a great development tool is the fact that is skips having the ios and android folders with the real mobile app project. The downside is that you don't have the
mobile app project to open inside of XCode or Android Studio. This means that you don't have access to those tools to add native modules or push to devices without signed certificates.
That is why we have the expo eject command.
DANGER
This command cannot be undone. When the command runs it will put your project back to the same state it would be right after running expo init
Before running this command, be sure to git add -A and git commit all your changes.
Then create a new branch where you will do the ejecting.
git checkout -b ejected
expo eject
2
You will get prompted to enter a package name for Android and bundle identifier for iOS. Use the same name in reverse domain name format. Eg: com.algonquincollege.myusername.myapp Just like for
Cordova.
This will create the /ios and /android folders and set up your projects as if you had started with npx react-native init MyProject.
Cocoapods must be installed for this to work.
It will take a while but you will have your React Native app along with the ios and android versions that can be opened in XCode or Android Studio.
There may be a few native tools missing so, after the eject command is done running, run this:
npx @react-native-community/cli doctor
It will review the tools that you have installed and tell you about any issues to fix. Then it gives you the options to fix the problems. Sometimes it can be easier to manual fix the problems by doing the updates and installs through XCode, npm, or Android Studio SDK manager.
Then, to build your app you can use the command:
npx react-native start
npx react-native run-ios
npx react-native run-android
2
3
The start command can be run first to build the JS part of the project and start the Metro bundler.
Both the run commands will build your app and try to launch it in the emulator/simulator.
It is worth noting that if you have a JDK version 17 installed, it will not like your React Native project and you will get lots of Gradle build errors.
For Android, the Emulator should be running first or you can have a physical device connected via USB. After the run command is done you will have your apk file that you can install and run on a
phone. For android, look inside /android/app/outputs/apk/debug/ for the app-debug.apk file. This is the file that you can install and run just like you would for Cordova.
For iOS there may be dependencies that are not linked to the project. You can fix this by running:
cd ios
pod install
2
To Open and Run the iOS version from XCode, open the /ios/[APP NAME].xcworkspace file in XCode and then you can run the app from there. This can install and launch your app on any attached and
signed device.
NOTE: Not the .xcodeproj file but the .xcworkspace file.
Remember to select the project in the workspace, go to the Signing & Capabilities tab, select the Algonquin College (Media and Design) team from the dropdown list and have
Automatically manage signing checked.
The run button in XCode can build and launch the App on your device. If you change your JS code then use the npx react-native start command to update the JS part of the project before doing another
build and run from XCode.
Sometimes additional work has to be done removing things that were added with Expo. Honestly, it is often easier to create a new project with npx react-native init MyProject and then copy over your
JS files and assets into the new project, than to Eject from expo and fix things.
# Firebase App Distribution
Another way to deliver test versions of your app to your client is through Firebase.
Firebase has a section in the control panel called Android. It lets you upload the .ipa, .apk or .aab files, create a list of allowed users (by email address), and then distribute those files
via an email.
The person receiving the email will get BOTH the binary file for the app, plus a signed certificate from Firebase that lets the person run your mobile app.
For iOS it means being able to provide clients with beta versions of your app without dealing with the App Store.
For both iOS and Android it means your client feels safe because they are getting to install a signed application on their device.
Every time you do an updated version upload to Firebase, the users in the list will automatically be sent an email with a link to the updated app.
Obviously this doesn't work for general distribution to the public because you need an email address for each person who will download the app. However, it might work for something like an internal app for a small company that had fewer than 100 employees.