6.2 Expo Application Services
# More about React Native Production Builds
- Expo is a great tool for developing and testing your React Native Apps
- Expo CLI lets you quickly and easily create a project and also test things on an iOS simulator or Android Emulator.
- The Expo client app lets you test your app in live devices that are on the same wifi network.
- However, eventually you want to be able to test the app on real devices that are not on the same network.
- That is where the Expo website comes into play.
- Expo Native Build documentation
- In more recent versions of Expo, the Expo publish command process has been replaced with the EAS service.
- Official Reference for EAS and the update command
# Expo/EAS Account
- You will need to go to Expo.io
- SIGN UP for an account. Use your @algonquinlive.com address for now. You can create another account with your personal email address later, for work that you do after graduation.
- Once you have this account created and are logged in you will be able to visit the builds for your projects.
- We will use the EAS CLI to upload the project.
- EAS is the Expo Application Services and uses the same Expo account.
- The URL for your project will be something like the following. The first one is the older version with expo publish and the second one is the newer one that uses EAS:
https://expo.io/@<your-User-Name>/<your-slug>/builds
https://expo.dev/accounts/<your-User-Name>/projects/<your-slug>/builds
2
- Replace the
<your-User-Name>with your own Expo username - Replace the
<your-slug>with theslug namefor your project from yourapp.jsonfile. - You can find the
slug nameinside yourapp.jsonfile with the rest of the settings for your React Native project. - This page will show a list of the different builds that you have done for your project as well as the status of each build. ie. Pending, In Progress, Complete...
# App Config
If you want to learn more about the configuration settings for your Expo React Native app, then here is the official guide to config settings
There are several commands that we use with the EAS CLI - update, build, and submit. It is important to understand these commands and what they each do.
# EAS Update
The EAS update commands will update the images, assets, TS and JS code that you have been writing, testing and altering with the expo cli commands in the Simulators, Emulators, and your personal
devices.
These commands are not updating anything locally, it is updating your project on the EAS Cloud servers.
Once you have the EAS project created on expo.dev and connected to your local project then install the expo-updates modules.
npx expo install expo-updates
Then run these config commands in the terminal which will update your project app.json file and create the eas.json file.
eas update:configure
eas build:configure
2
Select the All option
Once these steps are done you will be able to run the build commands and generate the binaries for both Android and iOS.
Now you will continue to edit and test your React Native app as per normal. Start your local build process with npm run start. Then you can edit your app and see the changes in a simulator,
emulator, or local device.
To push those changes to the EAS cloud server we run a command like this:
eas update --branch [branch] --message [message]
Where [branch] is preview or production and the [message] is a message like a git commit message.
After running the eas update command you will see output in your terminal similar to this:
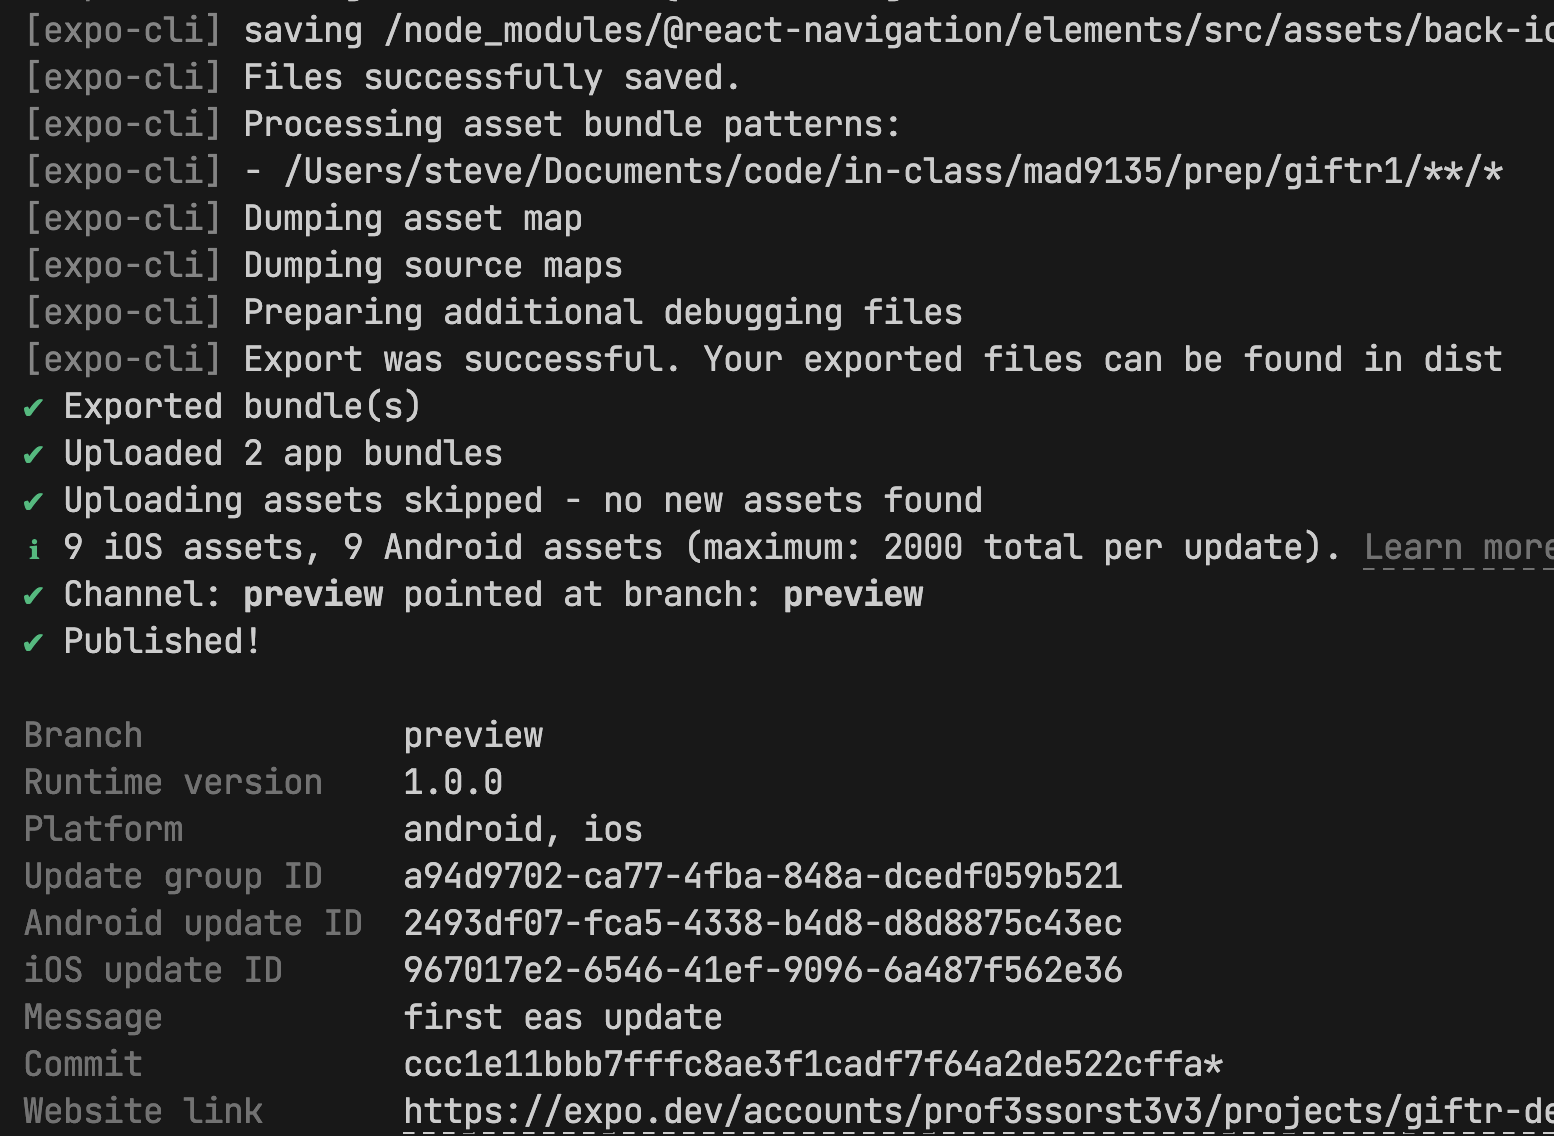
If you click on the link to visit the expo website with the settings for the project, then you will see the Updates tab on the left selected and a list of binary builds for iOS and Android. Each
build will have a preview button that you can click and see a QR code that you can open with an appropriate device.
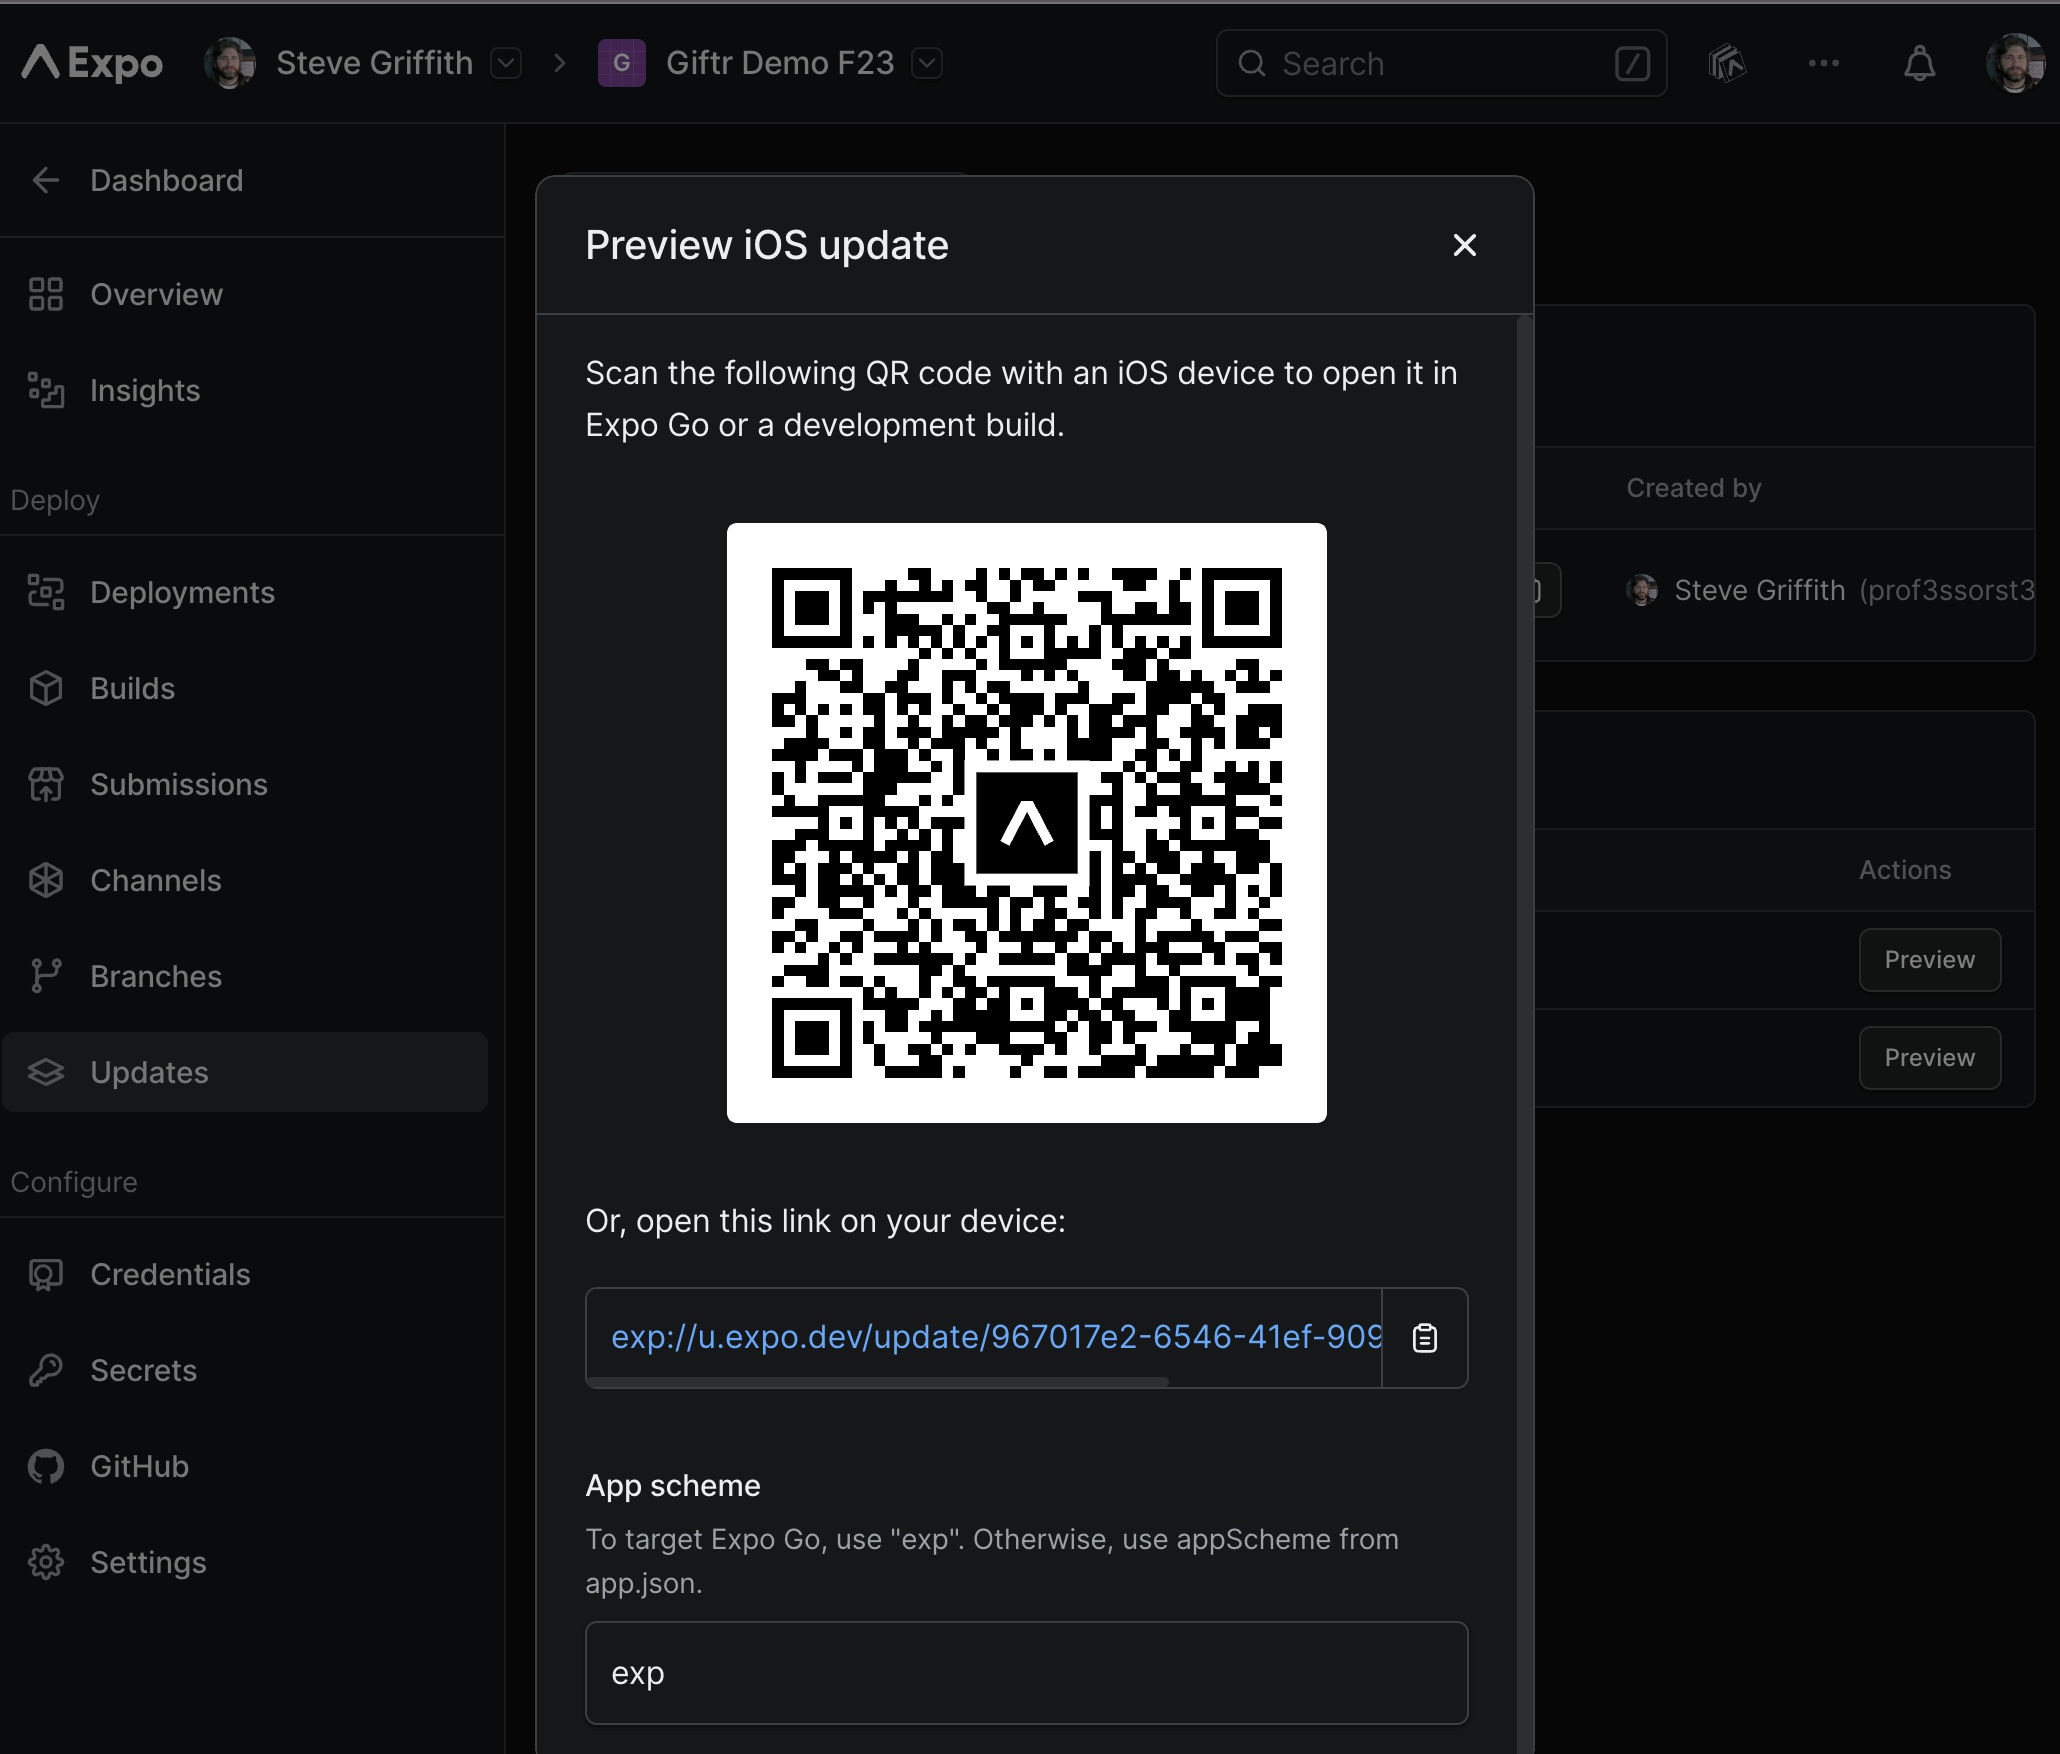
If you open the preview or production version via the QR code then you can have a preview or production version of the app running on a device.
Each time you are running the eas update command, you are uploading a new version of the assets and your scripts. It does not change things on the native side of the app.
# EAS Build
The EAS build command will create the binary files and actual deployable version of your Android and iOS app.
eas build --platform ios
eas build --platform android
eas build --platform all
2
3
When the command is run you will be prompted for details about the build.
For Android:
- you will need to provide or confirm an application id.
- you will be asked about creating a new Keystore.
For iOS:
- you will need to confirm or provide a bundle identifier.
- you will be prompted to login with your Apple Developer account credentials. If you have a personal Apple Developer account then you will be able to do everything including create an Apple Distribution Certificate. If you log in with your Algonquin Media & Design Apple Developer account credentials then you can do everything except create an Apple Distribution Certificate. However, without the distribution certificate it means that you cannot upload your app to the App Store.
So with EAS build we can build the Android apps but not the iOS ones.
# EAS Submit
The EAS Submit command is how you submit your binary app files that you created with the eas build command to the actual app stores.
# Sharing with clients (Older version of EXPO)
- If you want a friend or a client to see your app using the Expo client app as the loader then you can give them this version of the URL. THIS IS FOR THE OLDER VERSION of EXPO.
https://expo.io/@yourUserName/slug-name/
- If you send someone to that URL they will see the QR code, which can be scanned with the Expo client to install and run your App.
- You WILL have to get your client to install the Expo client app.
- In your
app.jsonfile you can set the"privacy"setting to"unlisted"or"public". - If the project is set to public then people can search for your app.
- If it is unlisted then they need to know the URL.
- There is a link to use the browser to see the code but this requires the purchase of another supporting program -
Appetize.
# Sharing with Clients (through EAS)
If you are using
EASand you want to share a demo version of your app, the client will still need to install theExpo Goapp on their own device.All you need to do is run the
eas updatecommand for your project, after having run the commands to connect with and configure EAS for your project. Then you will have the preview buttons that show the QR code. You can share the QR codes or theexp://link with your client to open on their phone.