10.1 React and NextJS
# Introduction
NextJS is a framework built on top of React that:
- simplifies a few things;
- adds built-in routing (to replace React Router);
- provides SSR server-side rendering;
- provides SSG static site generation;
- provides a few pre-built specialty components;
- adds server-side API support within your project;
- uses convention over configuration in the project;
And like many of the things that we have been doing this semester, there is a great video series by Net Ninja. Net Ninja Video Series on NextJS (opens new window).
Here is the Official NextJs website (opens new window)
# Creating a React App with NextJS
When using NextJS, we will no longer use the create-react-app tool to start our project. Now we will use:
npx create-next-app my-project-name
This will create a new React project in the folder my-project-name.
NextJs has it's own configuration for Webpack, Babel, etc. So, we still don't have to worry about these tools.
If you open your folder you will see that there is no src folder anymore. Instead, NextJS will be looking for a folder called pages. The initial parent page for the React app, in that folder, will be _app.js. This replaces the index.js from create-react-app.
It will render the index.js page as the home page and root route for your app. See the screenshot below showing the contents of index.js.
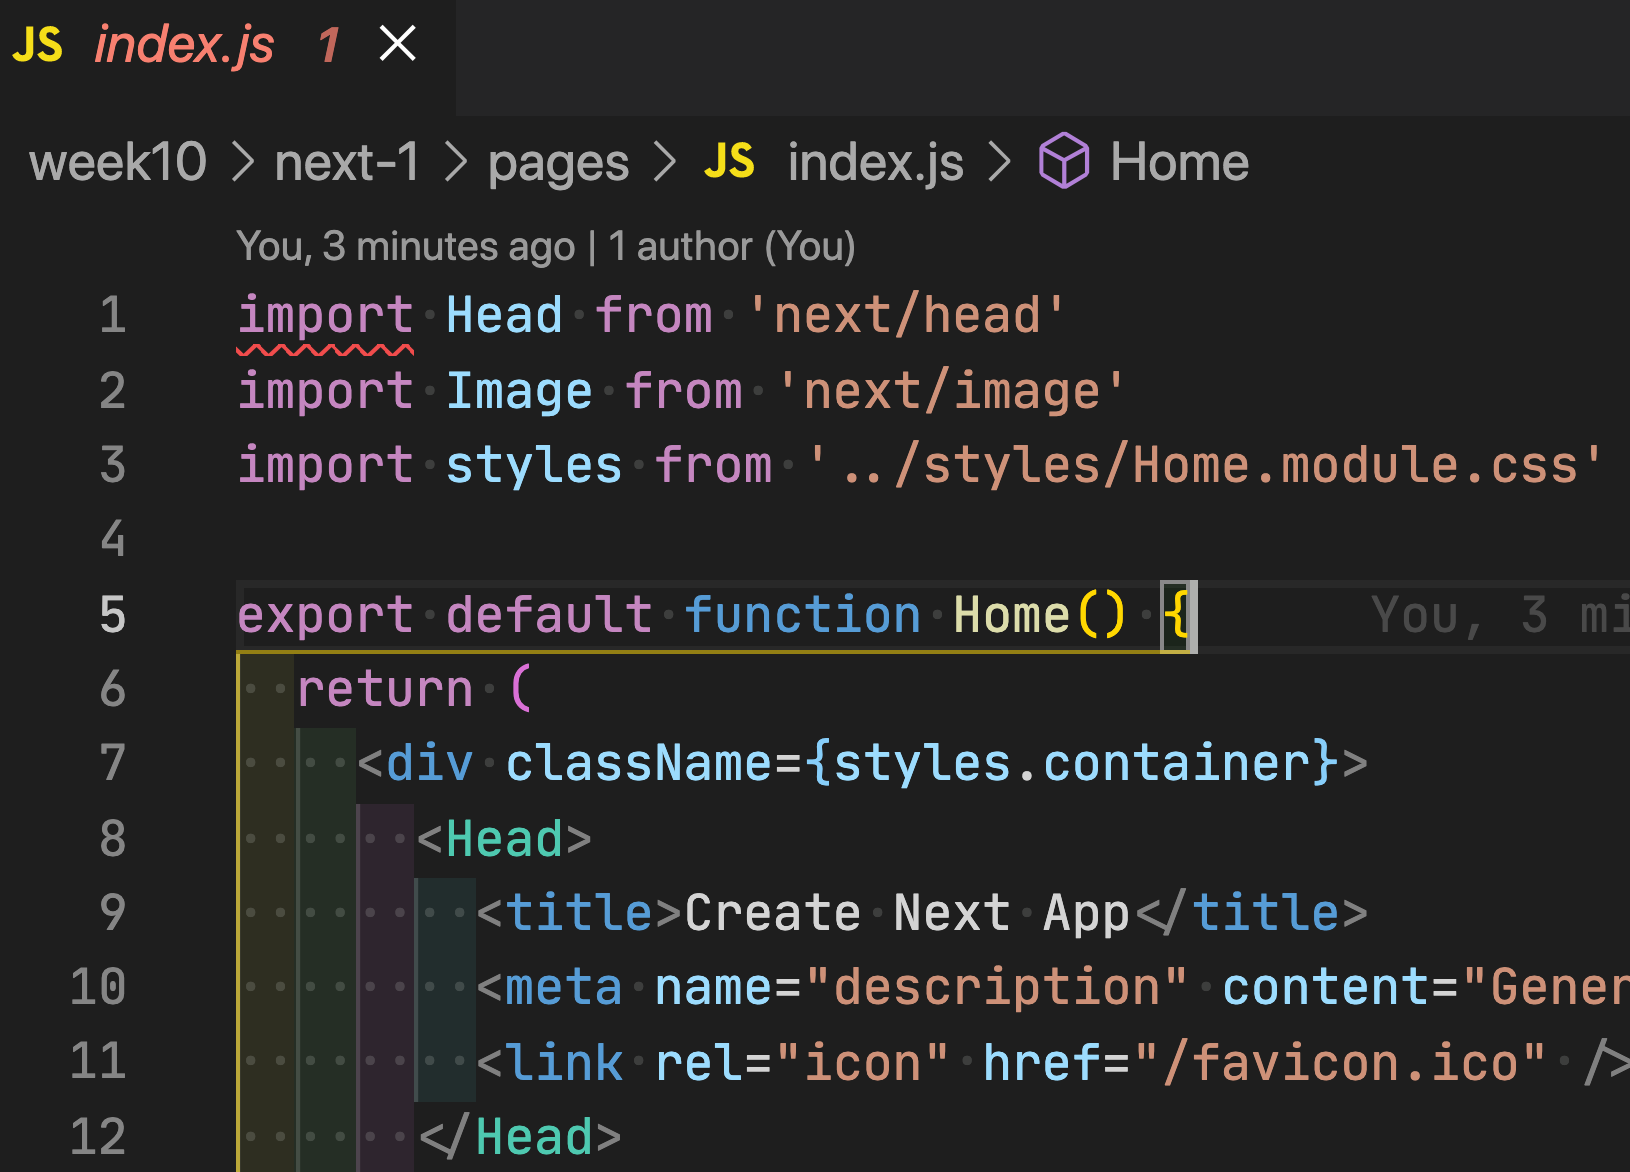
Note the three import lines at the top. The first two are importing pre-built components. The third line shows how to create a CSS file that is scoped to only apply to this component.
There is a styles folder at the root. Inside this folder you will add your component-specific CSS files. They need to be named like this - [Component-Name].module.css. Whatever the name of your component is, use that as the first part of the name of the CSS file. Then, it must end with .module.css. Without that naming convention it will NOT be added, even if you import it. In fact you will likely get an error.
In your CSS files, use classes for your styles. Do NOT use tag styles. They are considered global and not allowed inside module css files.
If you absolutely must have some global CSS styles (like for the html and body elements), then they need to go inside of /styles/globals.css.
# Routing
The approach to building apps with NextJS is a little different, because it supports server-side rendering. It wants you to architect your app as a series of pages. Each page is like it's own app. NextJS does code splitting and the Pages are each like their own little app. Components are separate and they can be brought into and used as part of a page but would never be rendered server-side on their own.
NextJS, by default, renders every page as its own html file.
We can, and should, still build small contained components. However, the routing is queued off filenames and folder names inside the /pages/ folder.
If you create a folder inside the /pages/ folder called users/ and add a file called index.js, then you will automatically be given the location http://localhost:3000/users.
If you want a page that shows user details, then you obviously will want to have a user id that you can use inside that page and in the location bar. So, create a page inside your /pages/users/ folder called [id].js. Yes, with the brackets. Yes with the string id. That string, id will become a variable and represent whatever comes after /users/ in the route. Eg: http://localhost:3000/users/234 - will have an id value inside the page of the string 234.
To get at the value of your id variable we use a hook that NextJS provides.
//this is the /pages/users/[id].js file
import { useRouter } from 'next/router';

export default () => {
  const router = useRouter();
  const { id } = router.query;
  //the hook gives us router.query.id
  //if the file were called [bob].js then we would have
  //router.query.bob
  return (
    <div>
      <h1>Welcome to the user {id} page</h1>
    </div>
  );
};
2
3
4
5
6
7
8
9
10
11
12
13
14
15
404 Routes
Oh, and you get a 404 page with Routing for free.
If you want a custom one, just create a component called /pages/404.js.
# Components
So, what about our small components? Where do those go?
Most developers choose to create the /src/components/ folder and put their components here. This folder name is not mandatory. Just don't put your components inside of /pages/.
If you were going to create a <Loader/> or a <Layout> to use on your pages then you could create /components/Loader.js or /components/Layout.js to import.
# Catch-All Routes
If you have a folder that is part of your route and you want to use a single page to handle everything that starts with that folder then we can use a filename that looks like an array with the spread operator.
/pages
  /users
    [...params].js
2
3
Using the above folder structure and our [...params].js filename, we can use our useRouter hook to access any of the routes like:
https://localhost:3000/users/12https://localhost:3000/users/12/courseshttps://localhost:3000/users/12/courses/75https://localhost:3000/users/12/courses/75/teacher
Our file will have the array router.query.params.
//this is the /pages/users/[...params].js file
import { useRouter } from 'next/router';

export default UserStuff() => {
  const router = useRouter();
  const { params } = router.query;
  //the hook gives us router.query.params as an array

  return (
    <div>
      <h1>Welcome to the user area</h1>
      <p>{params.length}</p>
      {params.map((item, index) => (
        <p>{index + ' ' + item}</p>
      ))}
      {/** this will loop through and display the different route parts listed above. */}
    </div>
  );
};
2
3
4
5
6
7
8
9
10
11
12
13
14
15
16
17
18
19
The router.query object will contain BOTH route variables from the folder/filename part of the URL as well as anything in the querystring.
For example, this url /notes/13?message=hello will contain the following:
// /pages/notes/[id].js

const router = useRouter();
console.log(router.query);
// output will be [id: '13', message: 'hello']
2
3
4
5
# Starting the Dev Server
Similar to what we got with create-react-app, the create-next-app framework gives us three scripts in the package.json file.
"scripts": {
    "dev": "next dev",
    "build": "next build",
    "start": "next start"
}
2
3
4
5
To start the Dev server, build and launch our React Web App, use:
yarn dev
The build script creates a production build and the start command will launch the production build. More on this later. The process is a bit different than create-react-app.
# Navigation
NextJS comes with a <Link> component that we can import and use to create navigation bars.
import Link from 'next/link';

export default NavBar(props)=>{
  const userid = 17;

  return (
    <Link href="/user/[id].js" as={`/user${userid}`}>
      <a>User {userid}</a>
    </Link>
  );
}
2
3
4
5
6
7
8
9
10
11
Note that the Link component needs an anchor tag with no href attribute inside it.
The Link component can have just an href property with the hard coded link to an exact filename, OR the href property plus an as property that lets you inject a dynamic value for the [id] part of the filename, which will be given to the Router.
# Programmatic Routing
Just like with React Router, NextJS can do programmatic routing. The router object we get from the useRouter hook gives us the same push method that we can use.
import { useRouter } from 'next/router';

export default function Page() {
  const router = useRouter();
  const userid = 17;

  return (
    <div>
      <button onClick={(ev) => router.push(`/`)}>Home</button>
      <button onClick={(ev) => router.push(`/user/[id]`, `/user/${id}`)}>
        User {id}
      </button>
    </div>
  );
}
2
3
4
5
6
7
8
9
10
11
12
13
14
15
Notice how the router.push() method can accept one or two values. The first being the hard-coded value you would place inside the href property. The second is the dynamic value for the as property.
# That API Folder
When you created your app, you got another folder inside of /pages called api/. This is where you can build server-side API endpoints. When you start your dev server these endpoints will be ready and active too.
So, when you host your website, if you include some API endpoints then it needs to be on a server with NodeJS running - like Netlify, Vercel, Digital Ocean, or Firebase.
# Layout
That initial /pages/_app.js file that was mentioned at the start, is actually more than just the first file in our app. This file is where we create our Layout for the web app. The name is a reserved name. NextJS will look for this file to start building your app.
Let's take a look at the default code inside that file.
import '../styles/globals.css';

function MyApp({ Component, pageProps }) {
  return <Component {...pageProps} />;
}

export default MyApp;
2
3
4
5
6
7
It imports the globals.css file. This is the ONLY file that is allowed to import the non-module, global tag styles.
The default function will be passed an object with two params. We are destructuring the object to get to the two params. Component will be your index.js file's return value. pageProps are props being passed in from NextJS's configuration.
This is where we will want to create the base layout used by all our pages.
We will build and import a <Layout> component.
import Footer from './Footer';
import Navbar from './Navbar';

const Layout = (props) => {
  const children = props.children;
  return (
    <div className="content">
      <Navbar />
      {children} {/** To load <Component/> in _app.js */}
      <Footer />
    </div>
  );
};

export default Layout;
2
3
4
5
6
7
8
9
10
11
12
13
14
15
This file is basically the structure for every page you will have on your site.
Then, back inside /pages/_app.js we wrap <Component> with our layout. The <Component> will be passed to <Layout> as props.children. The /pages/_app.js page will become this:
import Layout from '../src/components/Layout';
import '../styles/globals.css';

function MyApp({ Component, pageProps }) {
  return (
    <Layout>
      <Component {...pageProps} />
    </Layout>
  );
}

export default MyApp;
2
3
4
5
6
7
8
9
10
11
12
# Styling
As we build pages and components for our NextJS/React app we will be creating them as scoped modules. Remember that we have to add the .module.css as the end of the file name.
When we import the CSS module, what NextJS will give us is a Javascript object. All the CSS classes from the CSS file will be properties on the imported object.
This makes our code look like this:
import style from '../styles/Thing.module.css';

export default function Thing(props) {
  return (
    <div className={style.outer}>
      <h1 className={style.title}>Hello World</h1>
      <p className={style.inner}>Lorem Ipsum content</p>
    </div>
  );
}
2
3
4
5
6
7
8
9
10
In the example above, outer, title and inner will be css classes that exist inside /styles/Thing.module.css.
Note that we are giving a name to the CSS file being imported. This is used to target each of the CSS class objects inside.
# Images
With your NextJS-React app you can use normal <img> tags if you want. The path to the image will be relative to the /public/ folder.
NextJS also has a pre-built <Image /> component what we can import from next/image. If you use their component you must provide a width and height value OR a a layout property set to fill.
Here is a normal img tag and an Image component. Both urls are pointing to the /public folder.
  <img
    src="/images/profile.jpg"
    height={150}
    width={150}
    alt="Profile Pic" />
  <Image
    src="/images/profile.jpg"
    height={150}
    width={150}
    alt="Profile Pic" />
2
3
4
5
6
7
8
9
10
The NextJS <Image/> will give us automatic lazy loading and image optimization. Learn lots more here (opens new window).
If the URL is an external one then you must add the domain to the /next.config.js settings file. See more details here (opens new window).
# The /public folder
The public folder is like a globally accessible location to save your static assets like images, media, and fonts. You can put subfolders inside it to organize your content.
NextJS Static File Server Guide (opens new window).
# Metadata
If you want to inject content into the HTML <head></head> part of any page, then you can use the NextJS pre-built <Head> component inside your pages by importing from next/head. Then, whatever you add as children of the Head will be injected into the actual head of the HTML file when it gets generated with the build command.
import Head from 'next/head';

export default function Users() {
  return (
    <>
      <Head>
        <title>Page Specific Title</title>
        <link rel="shortcut icon" href="/favicon.ico" />
        <meta name="theme-color" content="#757575" />
        <meta name="apple-mobile-web-app-status-bar" content="#757575" />
        <meta charset="UTF-8" />
        <meta name="viewport" content="width=device-width, initial-scale=1.0" />
        <meta name="referrer" content="strict-origin" />
      </Head>
      <nav>
        <p>list of links here....</p>
      </nav>
    </>
  );
}
2
3
4
5
6
7
8
9
10
11
12
13
14
15
16
17
18
19
20
# Themes
The theme-ui library is like a simpler version of MUI for building a theme to style your app. Start by adding it to your project. Like, MUI, it is closely tied to the npm emotion library.
yarn add theme-ui @theme-ui/presets
Next, create a theme.js file where we will define our theme. Now, creating an entire theme from scratch is a lot of work. Thankfully, theme-ui gives us some defaults to start with.
The theme specification (opens new window) has a list of all the properties that are part of every theme. The theme reference page (opens new window) helps outline the sections of a theme.
The theme presets (opens new window) gives us something to start with, expand and overwrite. This demo page (opens new window) shows a visual reference of each available theme.
import { roboto } from '@theme-ui/presets';

const theme = {
  ...roboto,
  containers: {
    card: {
      boxShadow: '0 1px 3px rgba(0,0,0,0.12), 0 1px 2px rgba(0,0,0,0.24)',
      border: '1px solid',
      borderColor: 'muted',
      borderRadius: '4px',
      p: 2,
    },
    page: {
      width: '100%',
      maxWidth: '960px',
      m: 0,
      mx: 'auto',
    },
  },
  styles: {
    ...roboto.styles,
  },
};

export default theme;
2
3
4
5
6
7
8
9
10
11
12
13
14
15
16
17
18
19
20
21
22
23
24
25
To build your own custom theme, start by importing one of those theme presets in the first line of theme.js. Then we define the const theme = {}. The first line uses the spread operator to bring in all the properties of our imported theme. After that, we just list properties that we want to override and change.
Once your have your theme built then we need to add a Theme Context Provider to the _app.js file.
import { ThemeProvider } from 'theme-ui';
import theme from '../src/theme';
//or whereever you have the theme saved
import Layout from '../src/components/Layout';

function MyApp({ Component, pageProps }) {
  return (
    <ThemeProvider theme={theme}>
      <Layout>
        <Component {...pageProps} />
      </Layout>
    </ThemeProvider>
  );
}
2
3
4
5
6
7
8
9
10
11
12
13
14
Now we will have access to this theme throughout our app. we will import { jsx } from theme-ui and be given a prop called sx that we can use to access all the properties in the theme.
In every page or component that you want to use your theme properties, you will be adding the sx property to any element that you want. In order to be able to use the sx property, you need to add these two lines to the top of your component file.
/** @jsxImportSource theme-ui */
import { jsx } from 'theme-ui';
2
The first line is a Pragma that tells Webpack which compiler/transpiler to use when parsing your JSX. By default, it is the React compiler being used to parse all the JSX in your app. On any file that we want to use theme-ui, we have to change this by adding the new Pragma. It must be the first line of the file.
With the Pragma and the import done, we can start adding the sx prop. Here is an example of a component using the sx property. You can use the references linked to above to see all the available properties.
There is one property in particular that should be pointed out - variant. In the sample theme shown above there were two properties inside containers. containers.page and containers.card. The objects inside of containers are the variants. You can use them as containers to group together all your CSS properties and values and then just use:
<div sx={{variant: "containers.page"}}>
export default function Nav() {
  return (
    <header
      sx={{
        height: '60px',
        width: '100vw',
        bg: 'primary',
        borderBottom: '1px solid',
        borderColor: 'primary',
      }}
    >
      <nav
        sx={{
          display: 'flex',
          alignItems: 'center',
          justifyContent: 'space-between',
          variant: 'containers.page',
          height: '100%',
        }}
      >
        <Link href="/">
          <a sx={{ fontWeight: 'bold', fontSize: 4, cursor: 'pointer' }}>
            Note App
          </a>
        </Link>

        <Link href="/notes">
          <a sx={{ color: 'text', fontSize: 3, cursor: 'pointer' }}>notes</a>
        </Link>
      </nav>
    </header>
  );
}
2
3
4
5
6
7
8
9
10
11
12
13
14
15
16
17
18
19
20
21
22
23
24
25
26
27
28
29
30
31
32
33
# Theme-UI Components
Just as we had in MUI, theme-ui comes with a bunch of pre-built components.
See the list of components in theme-ui here (opens new window)